
An excess of apples and a relative leaving the country? That calls for apple tarts!
At some point while I was preparing to bake this apple tart, I thought it was high time for me to do a step-by-step tutorial for apple tart (seeing how this is my 12th time making apple tart, if I can trust my own records on this blog).
First make the applesauce. Of course you can use pre-made, but it tastes better homemade. Simple: dice apples, put in a pot and cover with water, add some sugar, and cook. Bring it to a boil, then lower the heat to medium-low, and cook for around 20 mins with a closed lid. Once translucent, remove the apple pieces with a strainer (reserving the liquid for glaze later), and mash with a spoon, and strain once more to remove excess liquid. Then let it drain some more in the strainer while you get to work on the crust.

Unfortunately, by the time I decided to do a step-by-step, the crust dough was already made, so I took pictures from there on. The crust isn't hard to make. You can find the recipe here.
First take the dough and roll it out with a rolling pin. Make sure to dust flour on your working surface and rolling pin, otherwise it'll stick! Once done, roll it around the rolling pin to lift it, then drape it into your pan, and break off the excess dough.


Poke it full of holes with a fork, otherwise it'll rise and make awkward bubbles.

Bake at 180°C for 10 minutes. Watch it in the meantime, because despite the holes, it'll still bubble, so you can stab the bubbles with your fork to pop the bubble and let some air out.
 |
| Yes, I'm at home now, so I get to use a nice, big oven instead of the small toaster oven I have at my dorm. |

Spoon on the applesauce. If too dry, you can mix it with a little drained liquid.

Sprinkle on cinnamon.

And arrange your apples! I decided to do multiple roses this time, since my mom was complaining that I don't put enough apples on the tarts. To get them soft enough to bend without breaking, I sliced them thinly and zapped them in the microwave. Depending on the microwave and the apple type, it can take anywhere from 30 sec to 1.5 min to get it soft enough.
If you don't like the microwave, you can cook the apple slices in the reserved liquid from the applesauce until softened.
Also, if you're short on time, you can just slice the apples amd arrange them in concentric overlapping circles without precooking.

Dust more cinnamon on the arranged apples.

Bake for about 20 minutes at 200°C. Most recipes I have looked at before told me to bake the tarts for around 30 minutes, but since the apples are already cooked through the microwave, they don't need as much time in the oven.
Bake for 25-30 mins for uncooked apples.

Removed from the oven:

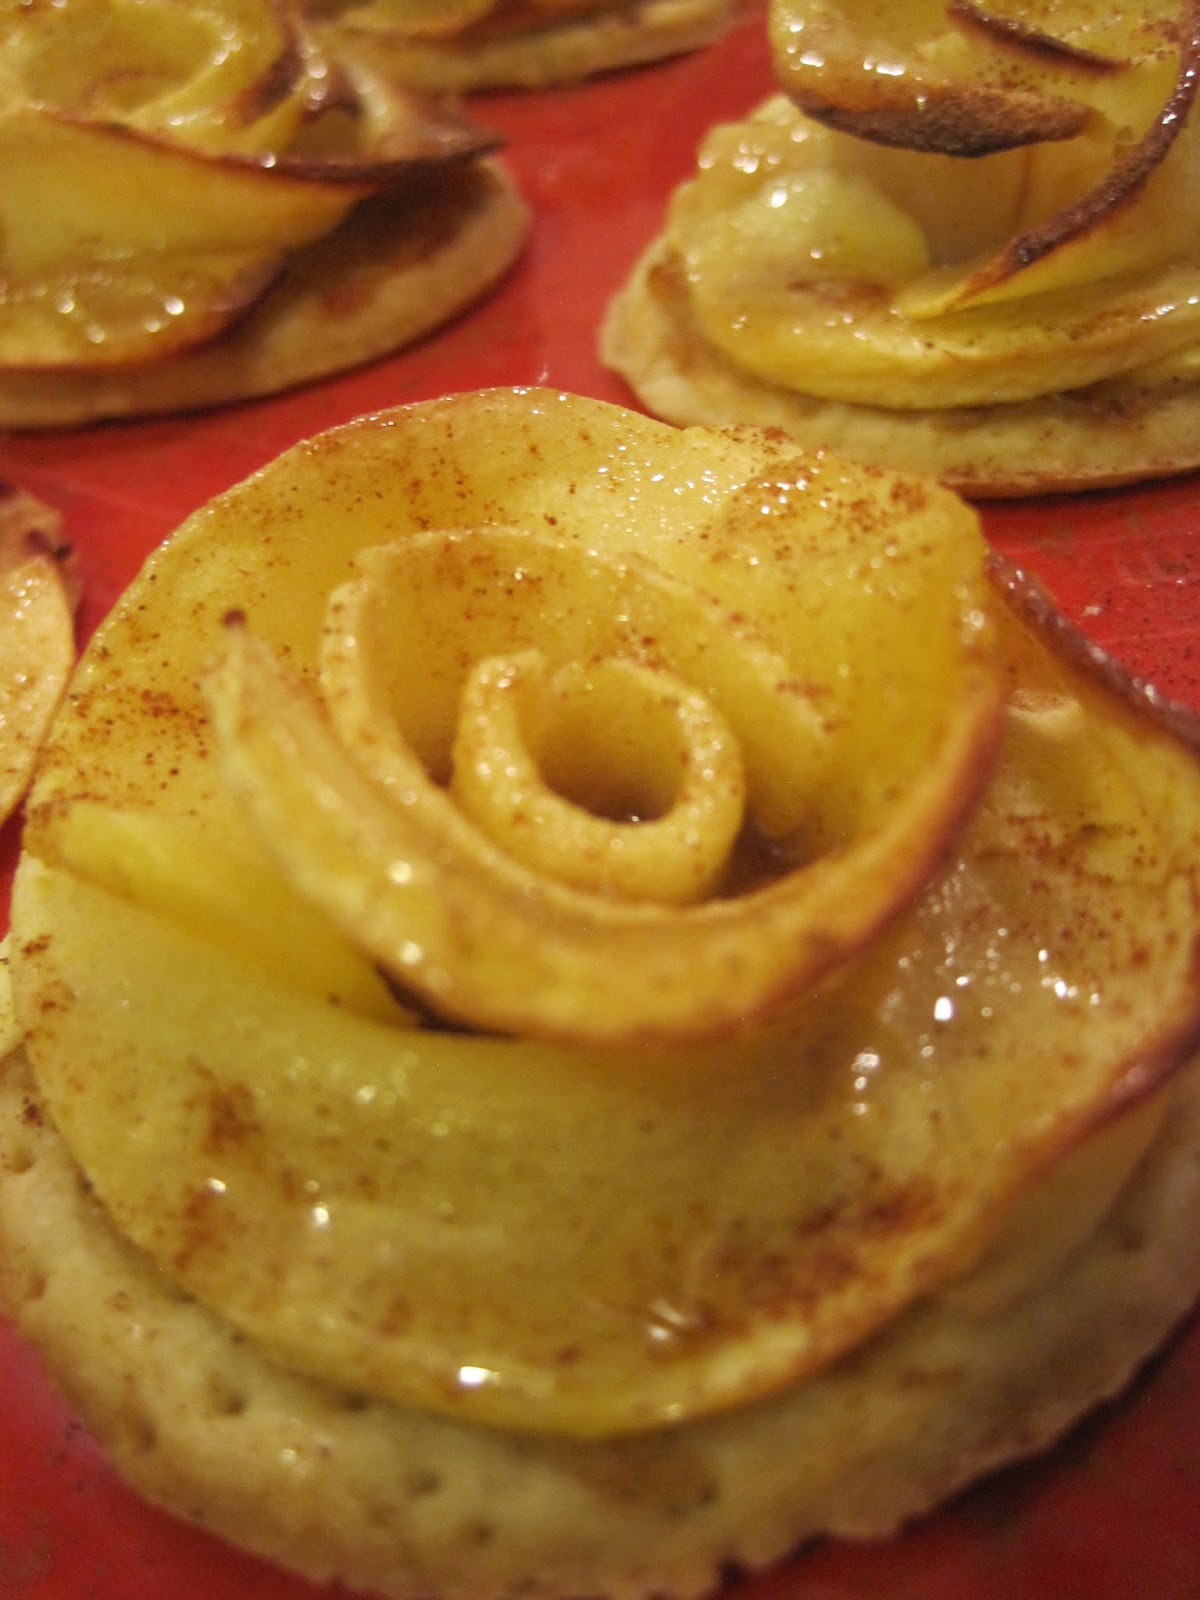
Then with some glaze, which is made by adding sugar to the water used to make the applesauce, and reducing it to a thicker substance. If you let it cool a bit, it may get a bit jelly-like due to the pectin in the apple, but a bit of water and some heat should work to loosen it again.
Close-up of one of the "flowers."

There was leftover dough, so I decided to make mini ones with single roses on each. Made 16 of them (plus 2 circles of crust with no topping because I wasn't about to cut 1/4 of an apple just for that... I had already snacked on a lot of failed apple slices by then, so...)


Removed from the oven:
Then with some glaze, which is made by adding sugar to the water used to make the applesauce, and reducing it to a thicker substance. If you let it cool a bit, it may get a bit jelly-like due to the pectin in the apple, but a bit of water and some heat should work to loosen it again.
Close-up of one of the "flowers."
There was leftover dough, so I decided to make mini ones with single roses on each. Made 16 of them (plus 2 circles of crust with no topping because I wasn't about to cut 1/4 of an apple just for that... I had already snacked on a lot of failed apple slices by then, so...)
No comments:
Post a Comment